
KitchenWise is reader-supported. When you buy through links on our site, we may earn an affiliate commission.
A dull chef’s knife is more dangerous than a sharp one. Sounds counterintuitive, right? But a dull blade requires more force to cut, increasing the chance of slipping and causing injury. More than that, a sharp knife makes cooking enjoyable. Slicing through tomatoes without squishing them, effortlessly dicing onions, and achieving perfect cuts of meat – it all starts with a sharp edge.
This guide will walk you through the basics of chef’s knife sharpening at home, covering the tools you’ll need and the techniques required to maintain a razor-sharp edge on your favorite blade. We’ll focus on methods suitable for beginners, emphasizing safety and consistent results.
Understanding Chef’s Knife Sharpening: The Basics
Phone cases · 15% off first order
Phone Case GiftThey pick the model · 2 minutes Code FIRST15GIFT
Before diving into the how-to, let’s cover some essential concepts. “Sharpening” technically refers to removing small amounts of metal to create a new, sharper edge. This is different from “honing,” which realigns the existing edge (we’ll cover honing later). Sharpening is necessary when your knife is noticeably dull and honing no longer restores its sharpness.
Why Sharpen at Home?
Professional sharpening services are available, but learning to sharpen your knives at home offers several advantages:
- Convenience: Sharpen your knives whenever they need it, without having to drop them off and pick them up.
- Cost Savings: Over time, the cost of professional sharpening adds up. Investing in sharpening tools saves you money in the long run.
- Control: You have complete control over the sharpening process, ensuring your knives are sharpened to your preferred level of sharpness.
- Deeper Understanding: Learning the process gives you a better understanding of your knives and how to care for them properly.
Identifying a Dull Knife
How do you know when your chef’s knife needs sharpening? Here are a few telltale signs:
- The Tomato Test: A sharp knife should slice through a ripe tomato without tearing the skin. If your knife struggles, it’s time to sharpen.
- The Paper Test: Hold a sheet of paper upright. A sharp knife should cleanly slice through the paper at a slight angle. A dull knife will tear or snag.
- Visual Inspection: Examine the edge of your knife closely. A dull edge may appear rounded or have small chips.
Essential Tools for Chef’s Knife Sharpening
You don’t need a vast collection of tools to effectively sharpen your chef’s knife. Here are the essentials:
- Whetstone (or Sharpening Stone): This is the primary tool for sharpening. Whetstones come in various grits, with lower grits (e.g., 400-1000) used for repairing damaged edges and higher grits (e.g., 3000-8000) for refining the edge. A combination stone with two different grits is a great starting point.
- Honing Steel: While not technically for sharpening, a honing steel is crucial for maintaining a sharp edge. It realigns the microscopic teeth on the blade that become bent or misaligned during use.
- Angle Guide (Optional): An angle guide helps maintain a consistent angle while sharpening, especially helpful for beginners.
- Water or Honing Oil: Depending on the type of whetstone, you’ll need water or honing oil to lubricate the stone during sharpening. This helps to remove metal filings and prevent the stone from clogging.
- Clean Cloth: For wiping the knife and stone during and after sharpening.
Choosing the Right Whetstone
Whetstones come in various materials, each with its own advantages and disadvantages:
- Natural Stones: Traditional sharpening stones made from natural materials. They can be expensive and require more skill to use.
- Synthetic Stones: Made from manufactured abrasive materials like aluminum oxide or silicon carbide. They are more affordable and consistent than natural stones.
- Diamond Stones: Use diamond particles as the abrasive. They are very aggressive and can sharpen knives quickly, but they can also be more difficult to control.
For beginners, a synthetic combination stone with a medium grit (around 1000) and a fine grit (around 3000-6000) is an excellent choice. These are readily available and relatively inexpensive. Consider one from a reputable brand – we’ve had good luck with King and Shapton, although the added cost of Shapton glass stones isn’t necessary for beginners.
Step-by-Step Guide to Chef’s Knife Sharpening
Phone cases · 15% off first order
Titan CasePrecision fit · 2,000+ designs Code FIRST15TIT
Now, let’s get to the actual sharpening process. This method uses a whetstone and is suitable for most chef’s knives. Before starting, find a stable, well-lit workspace.
Step 1: Prepare the Whetstone
Soak the whetstone in water for at least 10-15 minutes, or until bubbles stop appearing. This ensures the stone is fully saturated and will provide proper lubrication during sharpening. If using honing oil, apply a generous amount to the stone’s surface.
Step 2: Establish the Angle
The correct sharpening angle is crucial for achieving a sharp edge. Most Western-style chef’s knives have an edge angle of around 20 degrees. You can estimate this angle by placing the knife flat on the stone and then raising the spine of the blade about half an inch. Using an angle guide can help maintain consistency.
Step 3: Sharpening the Blade
- Place the knife at the established angle on the whetstone, with the heel of the blade near the top of the stone.
- Using light, consistent pressure, push the knife across the stone in a sweeping motion, maintaining the angle. The goal is to move the entire length of the blade across the stone.
- Repeat this motion 5-10 times on one side of the blade.
- Flip the knife over and repeat the process on the other side, using the same number of strokes.
Step 4: Alternate Sides
After the initial set of strokes on each side, alternate sides with each stroke. For example, one stroke on the left side, one stroke on the right side, and so on. This helps to create a symmetrical edge.
Step 5: Refine the Edge with a Finer Grit
Once you’ve sharpened the blade with the medium-grit side of the whetstone, flip the stone over to the fine-grit side. Repeat the sharpening process, using lighter pressure and fewer strokes. This will refine the edge and create a sharper, more polished finish.
Step 6: Test the Sharpness
After sharpening, test the knife’s sharpness using the tomato or paper test described earlier. If the knife is not sharp enough, repeat the sharpening process, paying close attention to maintaining the correct angle and using consistent pressure.
Step 7: Clean the Knife and Stone
After sharpening, thoroughly clean the knife and the whetstone with water and a clean cloth. Allow the stone to air dry completely before storing it. Properly storing your knives, perhaps in a knife block or on a magnetic strip, will help protect the edges and extend their sharpness. We recommend avoiding countertop blocks and opting for in-drawer storage, for both safety and cleanliness.
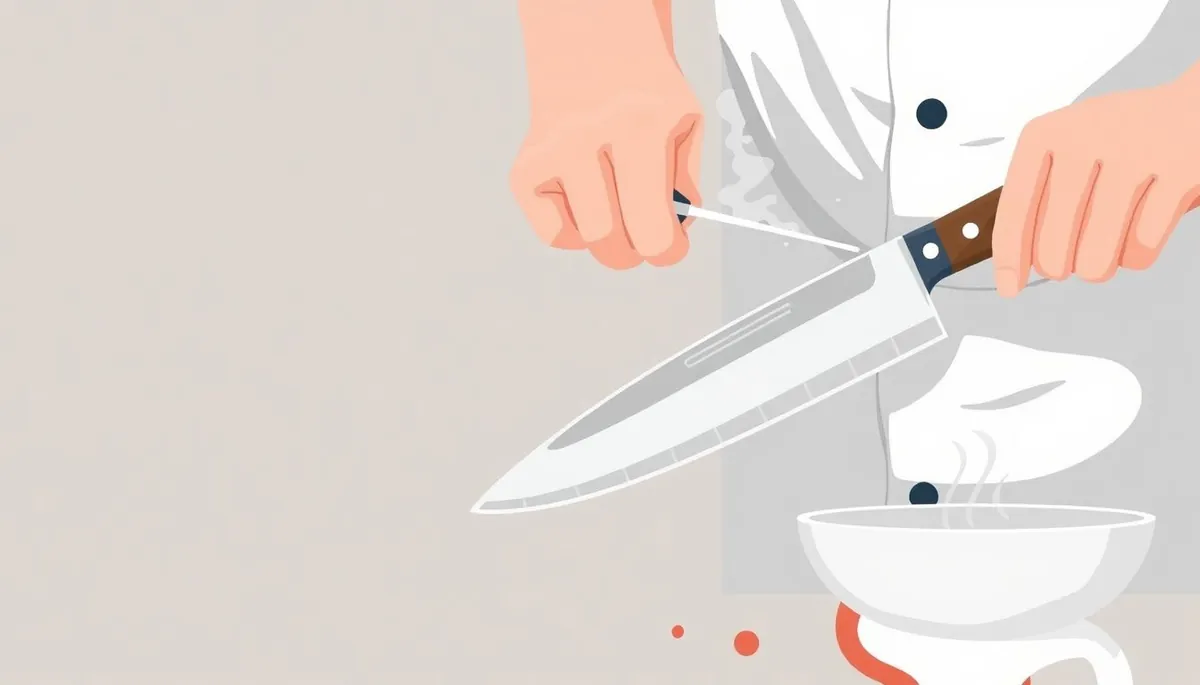
Honing: Maintaining Your Knife’s Edge
Honing is a maintenance process that realigns the edge of your knife. It should be done regularly, ideally before each use, to keep your knife performing at its best. Honing does not sharpen the knife, but it helps prolong its sharpness.
- Hold the honing steel vertically, with the tip resting on a stable surface.
- Hold the knife at a 15-20 degree angle to the steel.
- Draw the knife down the steel in a sweeping motion, maintaining the angle.
- Repeat this process on both sides of the blade, alternating sides with each stroke.
Safety Tips for Chef’s Knife Sharpening
Phone cases · 15% off first order
Phone Cases For CharityEvery case supports a cause Code GIVE10
Sharpening knives can be dangerous if not done properly. Here are some important safety tips:
- Focus: Pay attention to what you’re doing and avoid distractions.
- Stable Surface: Sharpen on a stable, non-slip surface.
- Finger Placement: Keep your fingers away from the edge of the blade.
- Slow and Steady: Sharpen slowly and deliberately, focusing on maintaining the correct angle and pressure.
- First Aid: Keep a first-aid kit nearby in case of accidents.
Learning to sharpen your chef’s knife at home is a valuable skill that will improve your cooking experience and save you money in the long run. By following these steps and practicing regularly, you’ll be able to maintain a razor-sharp edge on your favorite blade for years to come. And remember, a sharp knife isn’t just a pleasure to use – it’s also safer! Don’t forget to check out our other guides, like our knives buying mistakes to avoid article, for more tips on selecting and caring for your kitchen knives.


