
KitchenWise is reader-supported. When you buy through links on our site, we may earn an affiliate commission.
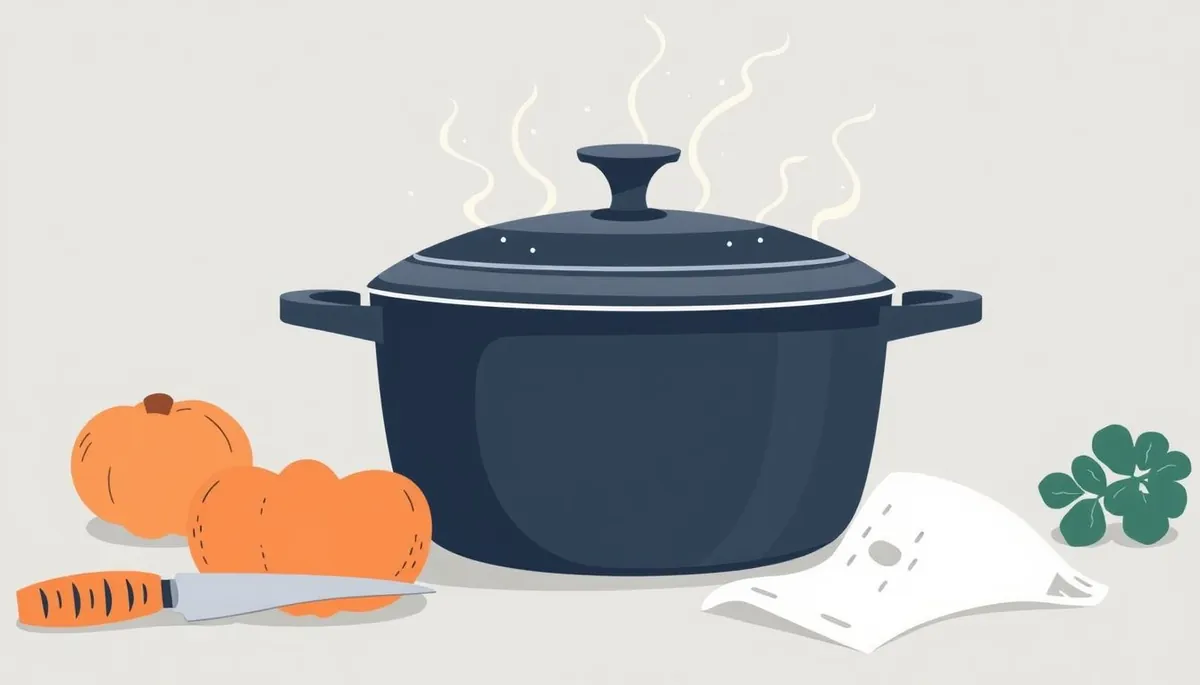
A dutch oven is a kitchen workhorse, capable of searing, braising, baking, and even deep-frying. But to get the most out of your dutch oven and ensure it lasts for years, proper use and maintenance are key. This guide covers everything from initial seasoning to cleaning and storage, so you can confidently tackle any recipe.
Getting Started With Your Dutch Oven
Phone cases · 15% off first order
Phone Case GiftThey pick the model · 2 minutes Code FIRST15GIFT
Before you embark on culinary adventures, there are a few crucial steps to take.
Seasoning for Longevity
While many enameled dutch ovens claim to be ready to use, a little extra seasoning can improve their performance and prevent sticking. For bare cast iron dutch ovens, seasoning is absolutely essential.
- Clean thoroughly: Wash the dutch oven with hot, soapy water and a non-abrasive sponge. Rinse and dry completely.
- Apply a thin layer of oil: Use a high-smoke-point oil like canola, vegetable, or flaxseed oil. Apply a very thin, even layer to the entire surface, inside and out. Too much oil will lead to a sticky, gummy finish.
- Bake: Place the dutch oven upside down on the middle rack of your oven with a baking sheet underneath to catch any drips. Bake at 350°F (175°C) for one hour.
- Cool and repeat: Let the dutch oven cool completely in the oven. Repeat the oiling and baking process 2-3 times for optimal seasoning.
Even for enameled dutch ovens, consider a light seasoning on the rim where the lid sits. This area is prone to chipping and can benefit from a protective layer of oil.
Choosing the Right Size
Dutch ovens come in a variety of sizes, from small 1-quart models to large 8-quart behemoths. The right size depends on your cooking needs.
- 3-4 quarts: Ideal for smaller households or side dishes.
- 5-6 quarts: A versatile size for most families, suitable for braising, soups, and stews.
- 7-8 quarts: Best for large batches, whole chickens, or feeding a crowd.
Consider where you’ll store your dutch oven, too. Larger models can be quite heavy and take up significant cabinet space.
Cooking Techniques for Dutch Ovens
A dutch oven’s versatility makes it suitable for a wide range of cooking methods.
Searing and Browning
The thick walls of a dutch oven provide excellent heat retention, perfect for searing meats and vegetables.
- Preheat properly: Allow the dutch oven to preheat over medium-high heat for several minutes before adding oil.
- Don’t overcrowd: Sear food in batches to avoid lowering the temperature of the pan and steaming the food instead of browning it.
- Use the right oil: High-smoke-point oils like avocado or grapeseed oil are best for searing.
Braising
Braising is a classic dutch oven technique that involves searing meat and then simmering it in liquid until tender.
- Sear the meat: Brown the meat on all sides in the dutch oven.
- Add aromatics: Sauté onions, garlic, and other aromatics in the pan.
- Deglaze: Pour in wine, broth, or other liquid to deglaze the pan, scraping up any browned bits from the bottom.
- Simmer: Add the meat back to the pot, cover, and simmer in a low oven (around 325°F/160°C) until tender.
Baking
Dutch ovens can also be used for baking bread and other treats. The tight-fitting lid traps steam, creating a moist environment that promotes a crispy crust.
- Preheat the dutch oven: Place the dutch oven in the oven while it preheats. This ensures even baking and a superior crust.
- Use parchment paper: Line the dutch oven with parchment paper to prevent sticking and make it easier to remove the baked goods.
- Bake with the lid on: Bake with the lid on for most of the baking time, then remove the lid for the last few minutes to brown the top.
You can even bake no-knead bread in a dutch oven with fantastic results.
Cleaning and Maintenance
Phone cases · 15% off first order
Titan CasePrecision fit · 2,000+ designs Code FIRST15TIT
Proper cleaning and maintenance will extend the life of your dutch oven.
Cleaning Enamel Dutch Ovens
- Cool before washing: Allow the dutch oven to cool completely before washing. Sudden temperature changes can damage the enamel.
- Use gentle soap: Wash with warm, soapy water and a non-abrasive sponge. Avoid harsh detergents or scouring pads.
- Remove stubborn food: For stuck-on food, simmer water with a tablespoon of baking soda in the dutch oven for 10-15 minutes. This should loosen the food and make it easier to scrub away.
- Avoid metal utensils: Metal utensils can scratch the enamel surface. Use wooden or silicone utensils instead.
Cleaning Bare Cast Iron Dutch Ovens
- Clean immediately: Clean the dutch oven while it’s still warm to prevent food from sticking.
- Use hot water and a brush: Scrub with a stiff brush and hot water. Avoid soap unless absolutely necessary, as it can strip the seasoning. If you must use soap, re-season afterward.
- Dry thoroughly: Dry the dutch oven completely with a clean towel.
- Re-season: After drying, apply a thin layer of oil to the entire surface and heat in a low oven (200°F/95°C) for 20 minutes to re-establish the seasoning.
Consider purchasing a chainmail scrubber for cleaning cast iron — they’re effective at removing stuck-on food without damaging the seasoning.
Removing Rust
Rust can form on bare cast iron dutch ovens if they are not properly dried and seasoned.
- Remove the rust: Use steel wool or sandpaper to remove the rust.
- Wash and dry: Wash the dutch oven with hot, soapy water and dry thoroughly.
- Re-season: Follow the seasoning instructions above to re-establish the protective coating.
Storage Tips
- Store in a dry place: Store your dutch oven in a dry place to prevent rust.
- Protect the enamel: Place a cloth or paper towel between the dutch oven and the lid to prevent chipping.
- Consider a dutch oven protector: These fabric covers help prevent scratches and dings during storage.
Troubleshooting Common Issues
Even with proper care, you may encounter some common issues with your dutch oven.
Food Sticking
- Insufficient seasoning: For bare cast iron, ensure the dutch oven is well-seasoned.
- Too low heat: Make sure the pan is hot enough before adding food.
- Not enough oil: Use an adequate amount of oil to prevent sticking.
Chipping Enamel
- Avoid thermal shock: Don’t subject the dutch oven to sudden temperature changes.
- Use wooden or silicone utensils: Avoid metal utensils that can scratch the enamel.
- Handle with care: Avoid dropping or banging the dutch oven.
Rust Formation
- Dry thoroughly: Always dry the dutch oven completely after washing.
- Re-season regularly: Re-season bare cast iron dutch ovens after each use or as needed.
By following these tips, you can ensure your dutch oven remains a reliable and versatile tool in your kitchen for years to come. And don’t forget, the right cookware setup checklist for beginners can help you organize your kitchen and keep your dutch oven ready for action!


